Once the “larger” altimeter with LED display was done I decided that it would be great if I had even smaller and lighter altimeter that I can use in small model rockets.
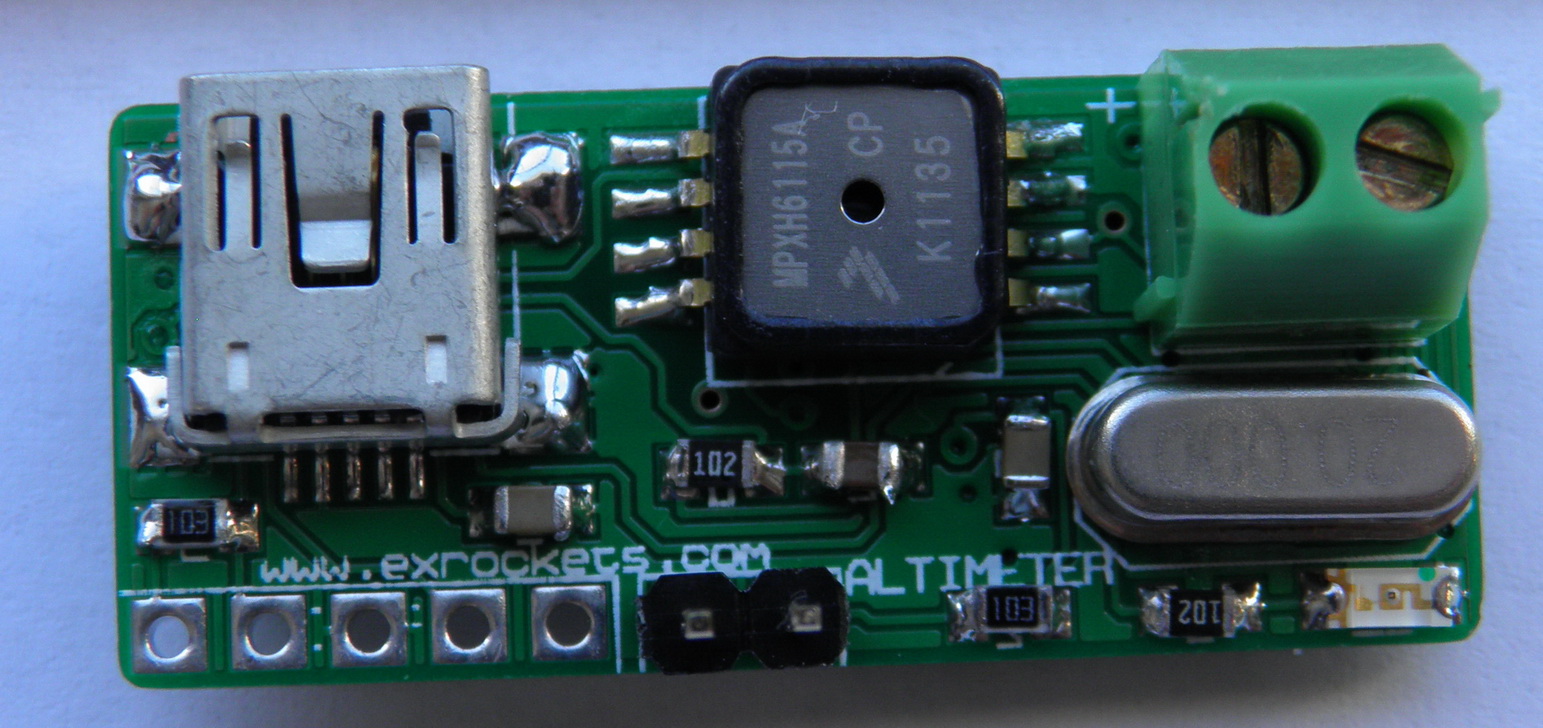
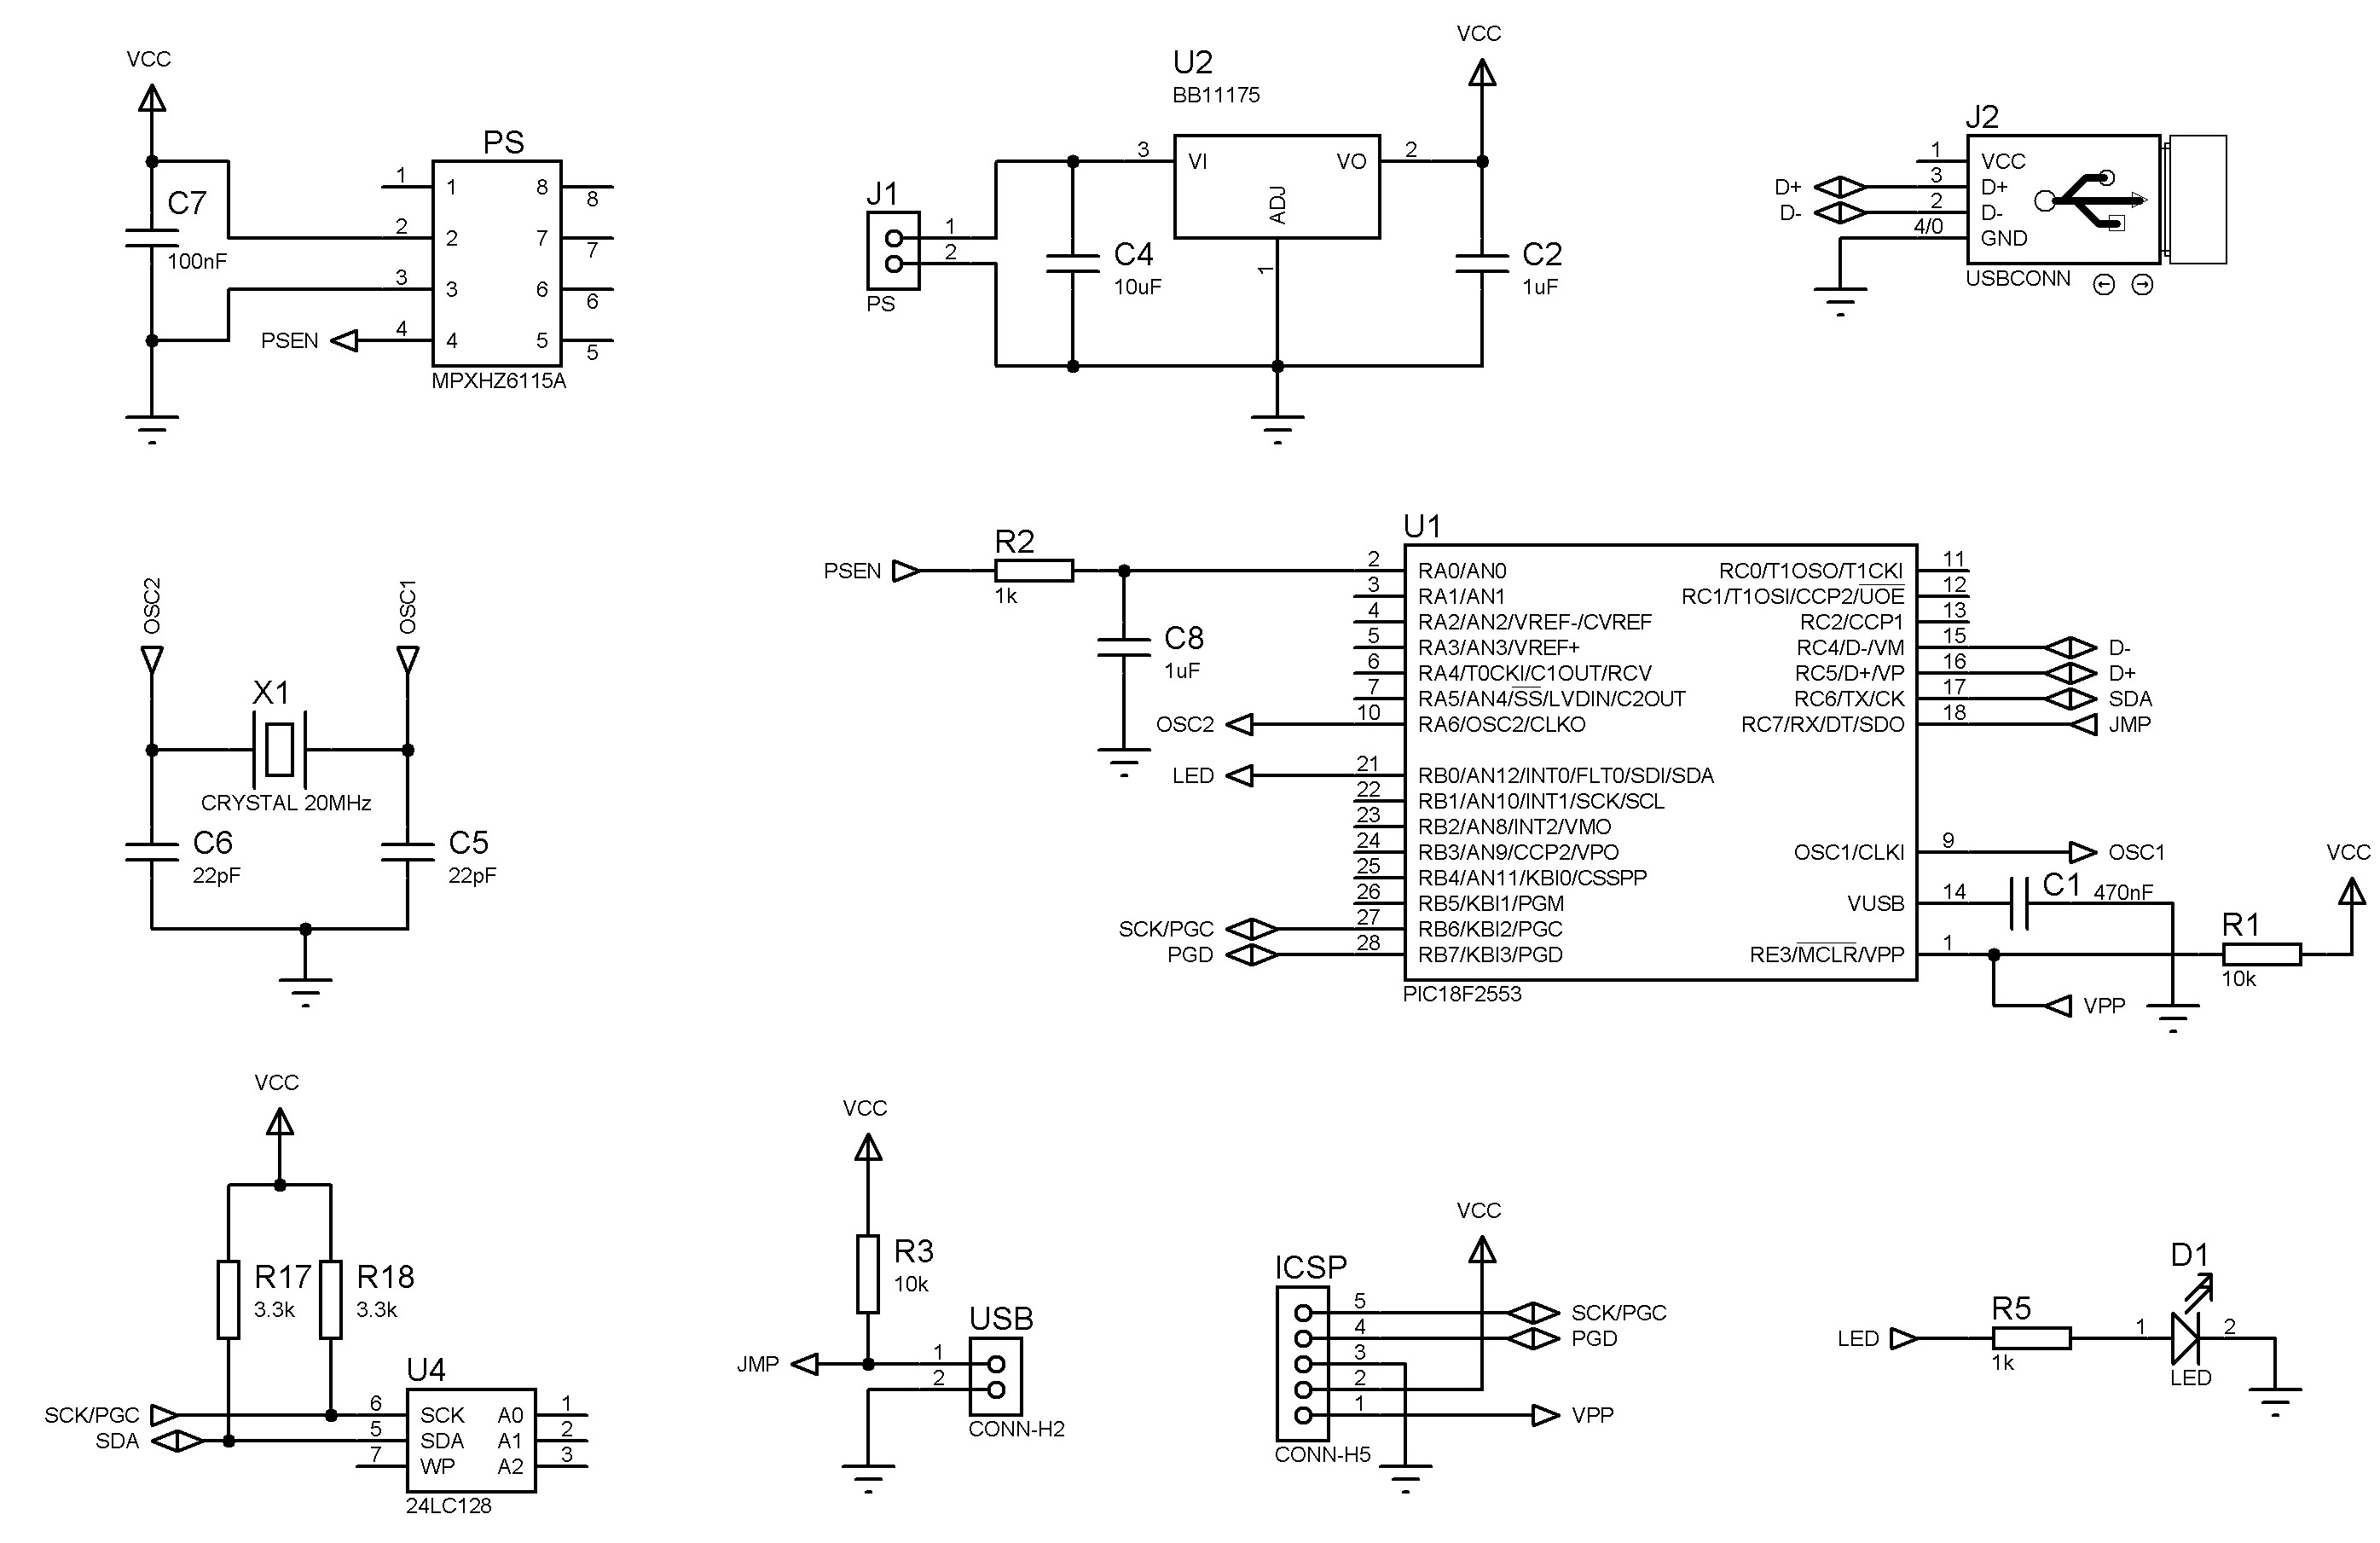
So I designed this small altimeter which is entirely based on the one with LED display however it is missing the display. Also in order to minimize its dimensions, while keeping it reasonably easy to assemble, I had to replace some of the components. After some rearrangement I managed to squeeze it in a 35mm x 15mm PCB.
Electrical diagram:
In spite of the small size and missing LED display the functional side wasn’t cut that much. Still there is a possibility to calculate and visualize the altitude while on field by using small LED to blink the altitude. It also shares the following common features:
– 128Kb EEPROM memory which allows approximately 6 minutes of recording
– 20 record per second
– Blink integer values up to 9999 meters
– USB connector for memory download
– 14 bit ADC resolution trough oversampling
– 70cm per bit resolution
– On the field it will calculate and show maximum altitude
– Temperature adjusted for 20 degrees Celsius
– ICSP programming capability
– Auto start detection
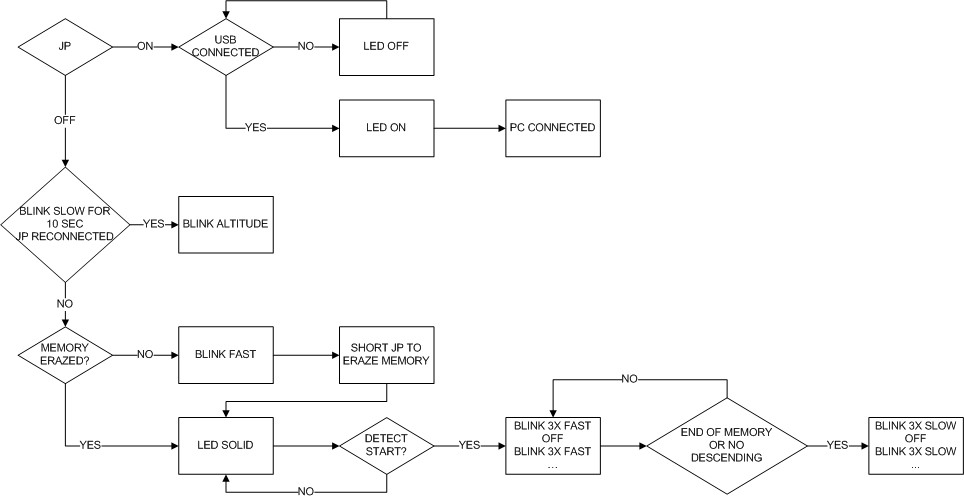
Complete diagram how each of the modes work.
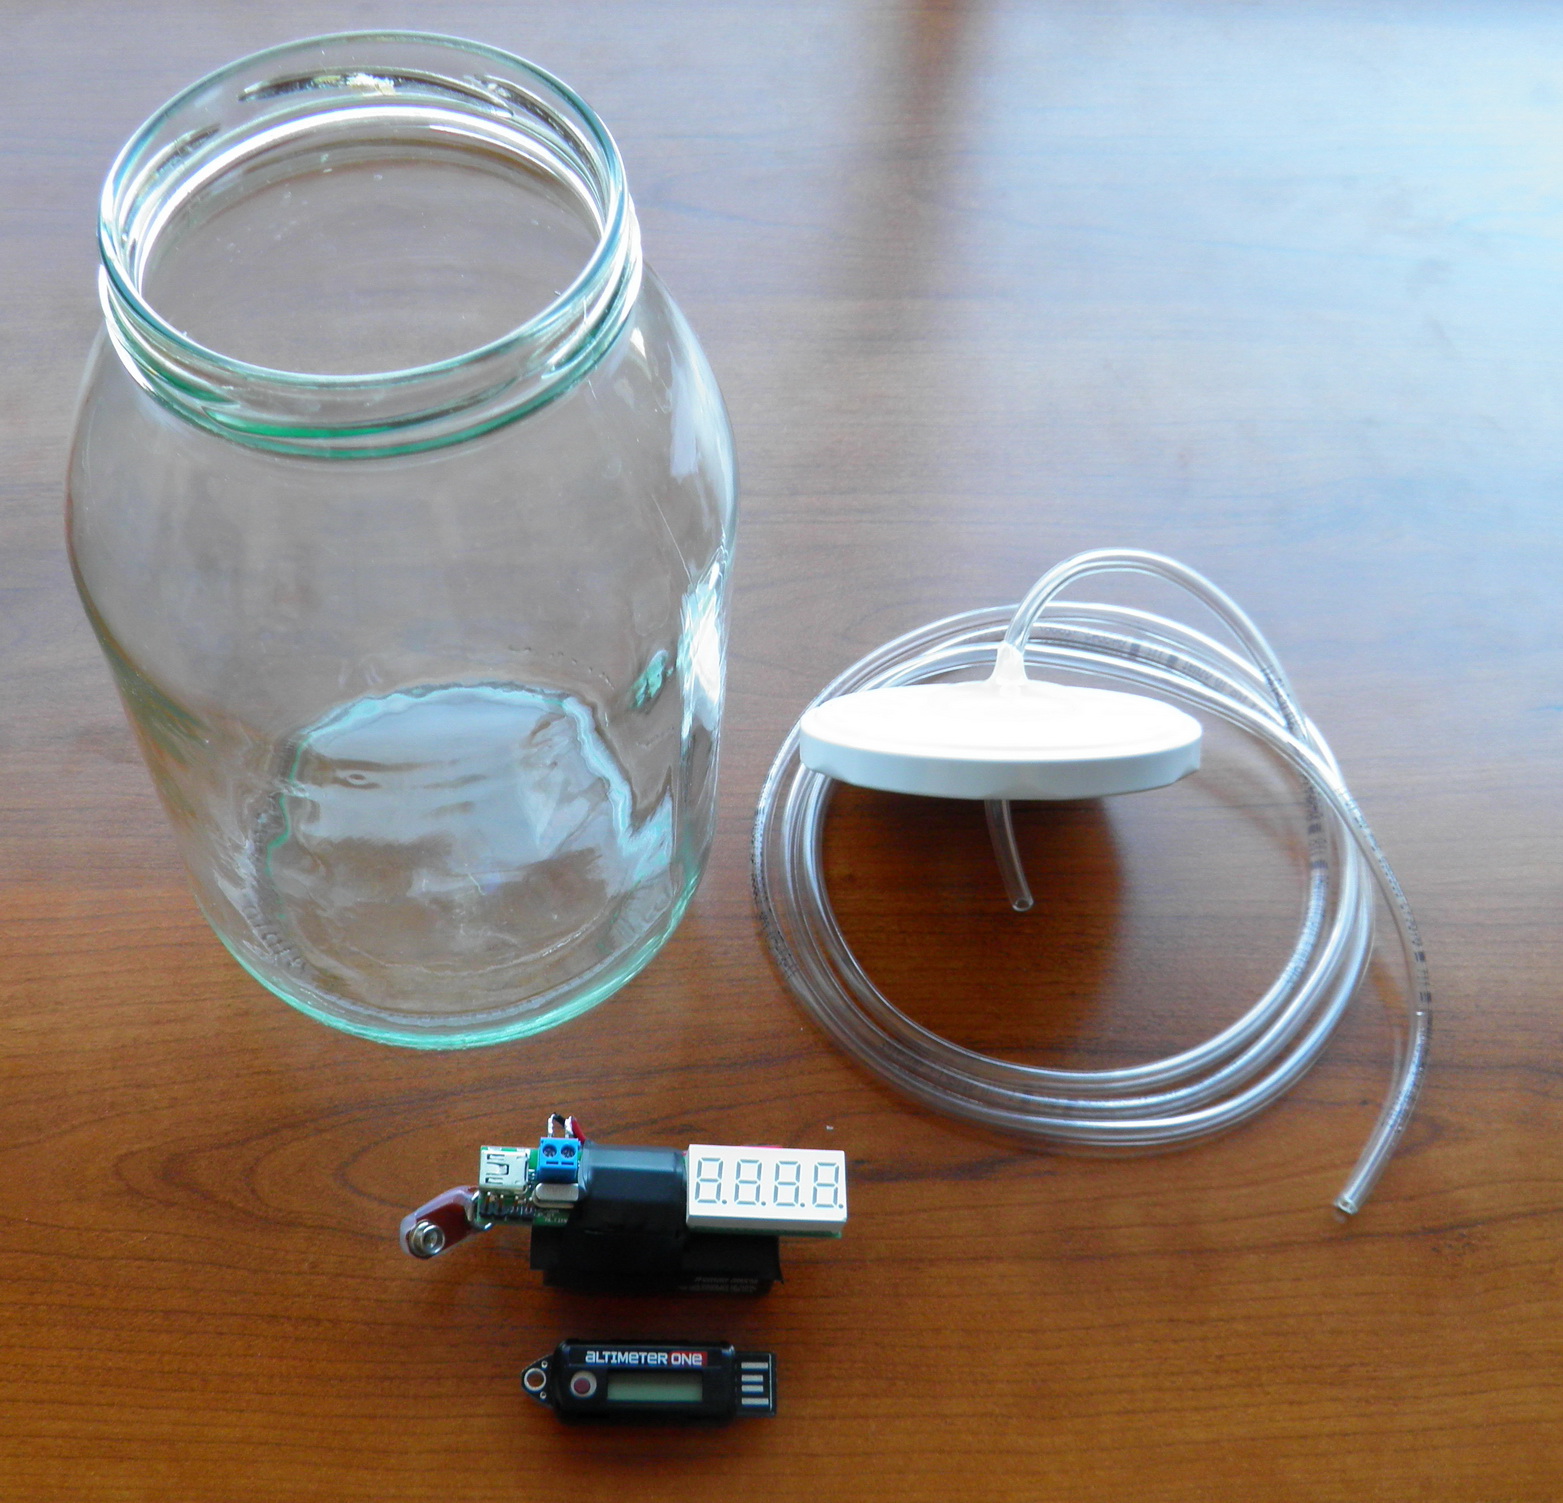
Once I received the new printed circuit boards and assembled the altimeter it was time for testing. Testing was done in my favorite barometric chamber, the contents of which I already had consumed.
Anyway… again I used AltimeterONE for calibration purposes and as expected (as I explained here AltimeterONE is calibrated for 18 degrees at the start) there were only minor differences of 1 to 5 meters in the entire range up to 2500m (simulated low pressure).
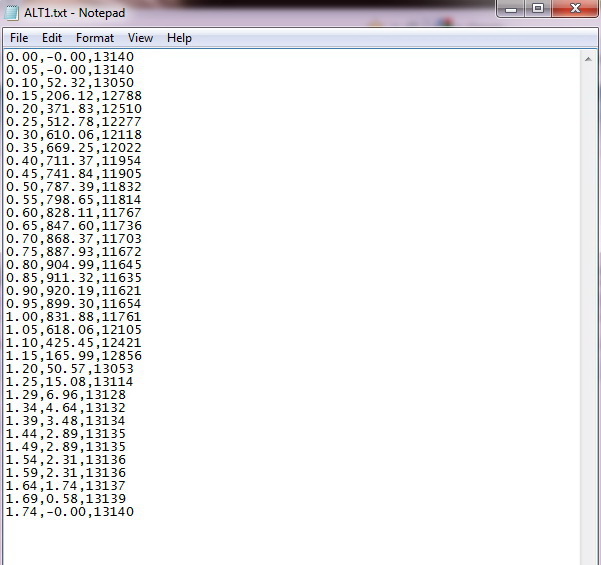
This altimeter can be used as CDC device and will appear as a virtual serial port in your Device Manager. This way all data can be downloaded through a serial terminal. For this you have to use the CDC firmware.
In order to use it as CDC device you will need a serial terminal, however not all serial programs work so well with virtual COM ports. One program that works is this one. Also you will need CDC drivers which Windows XP and Windows 7 downloads automatically. Further on you will have to manually import all information in an Excel spreadsheet and crunch the data.
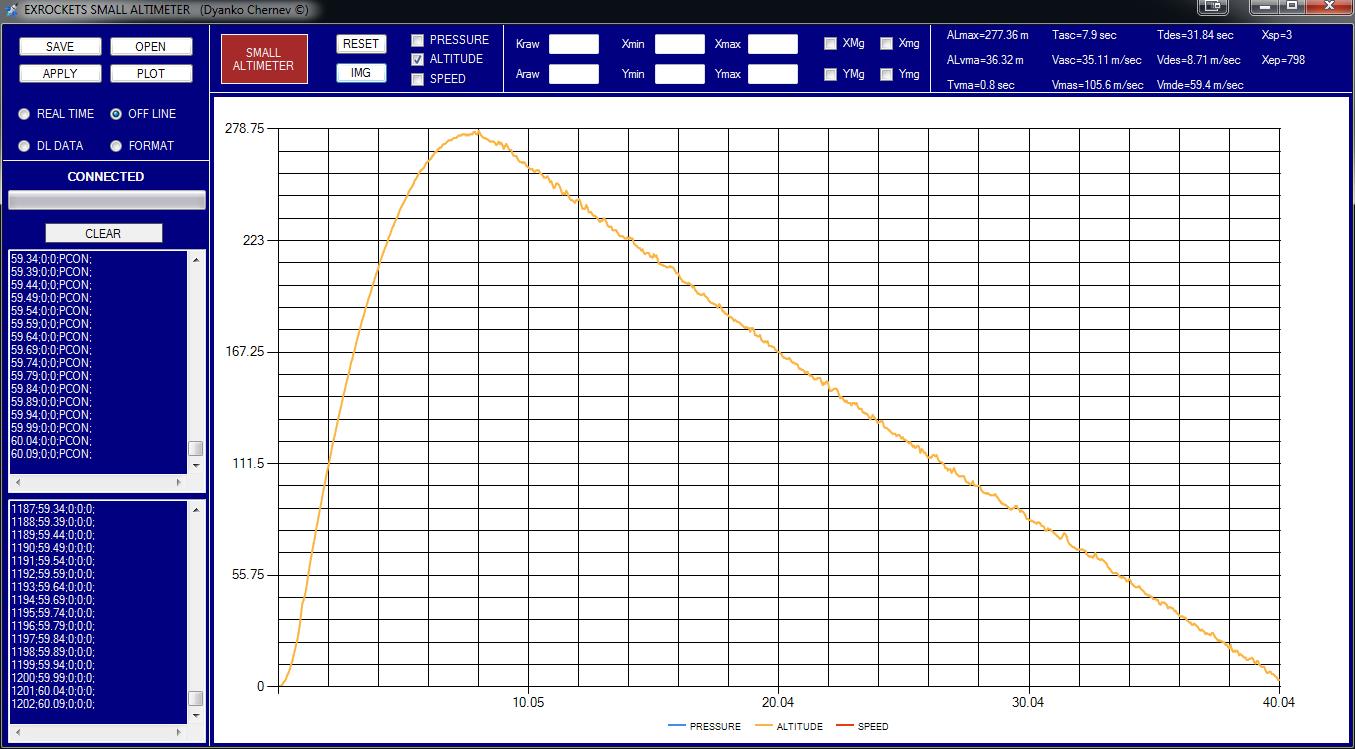
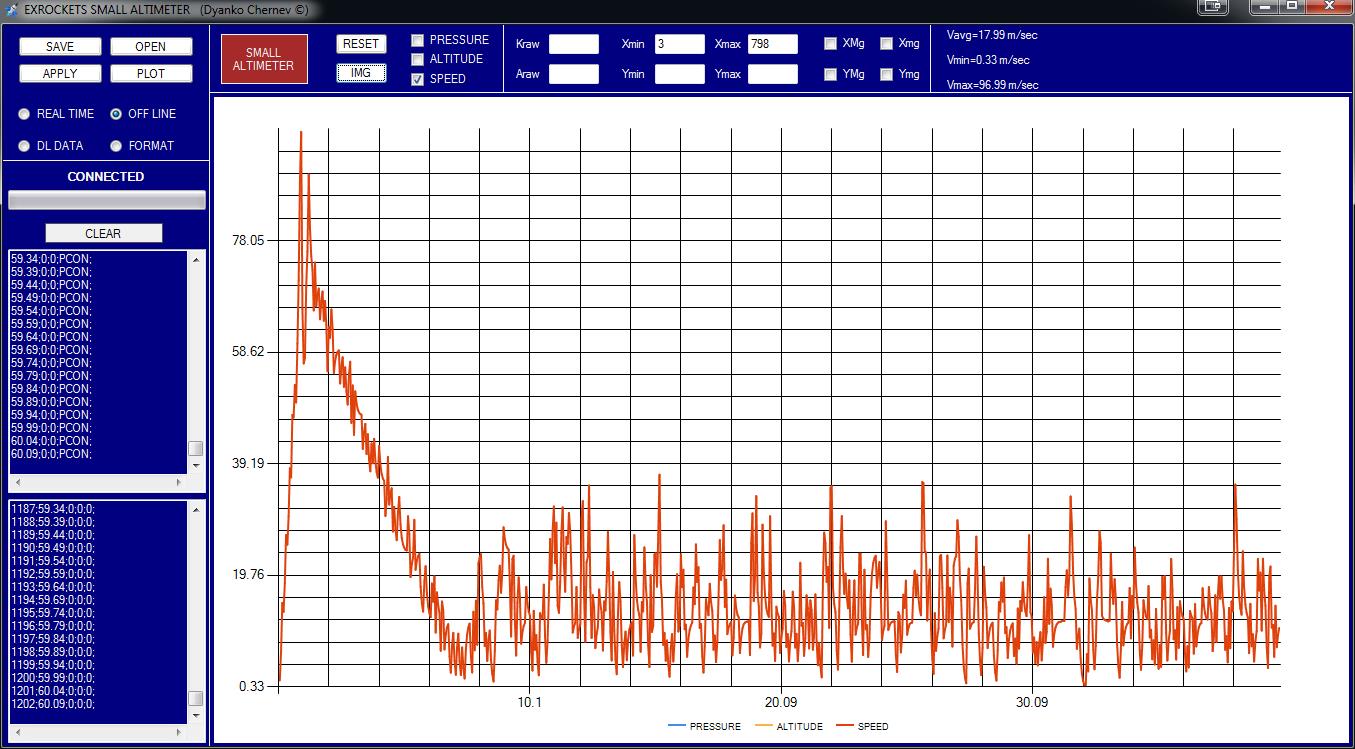
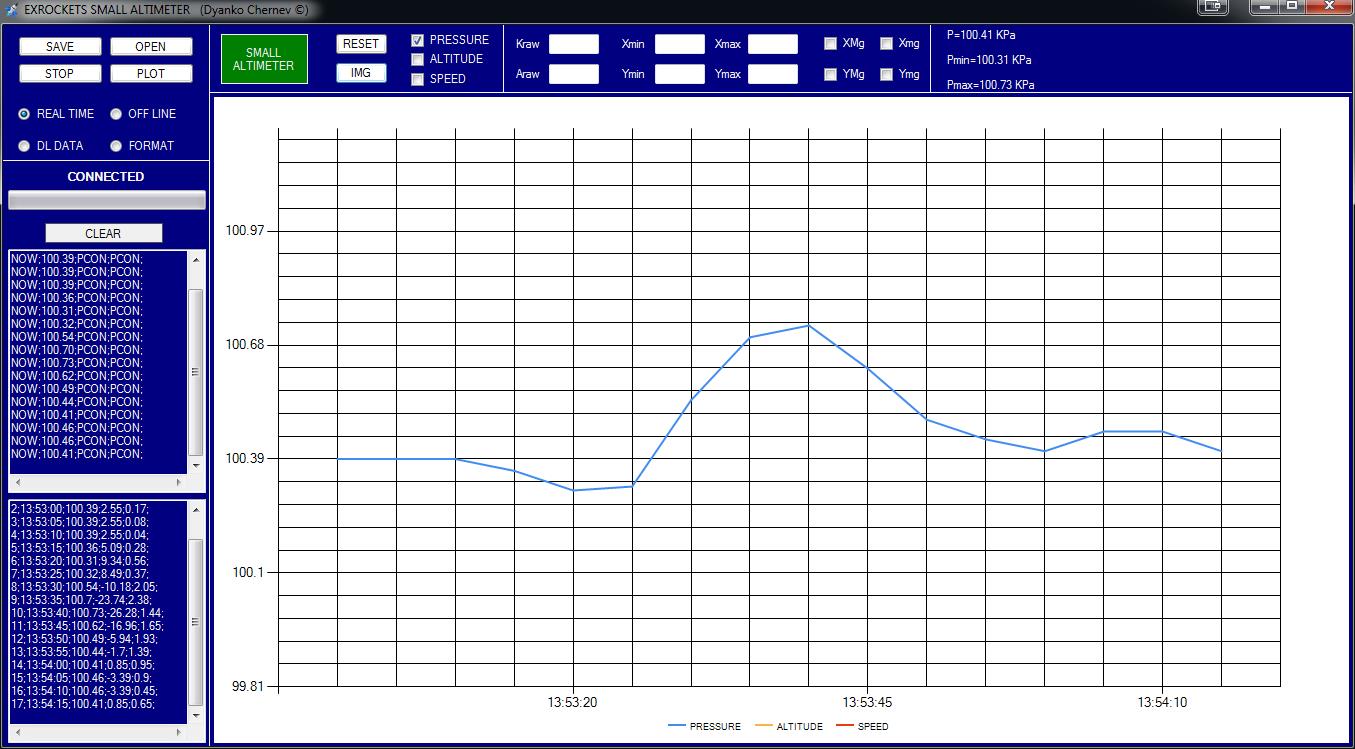
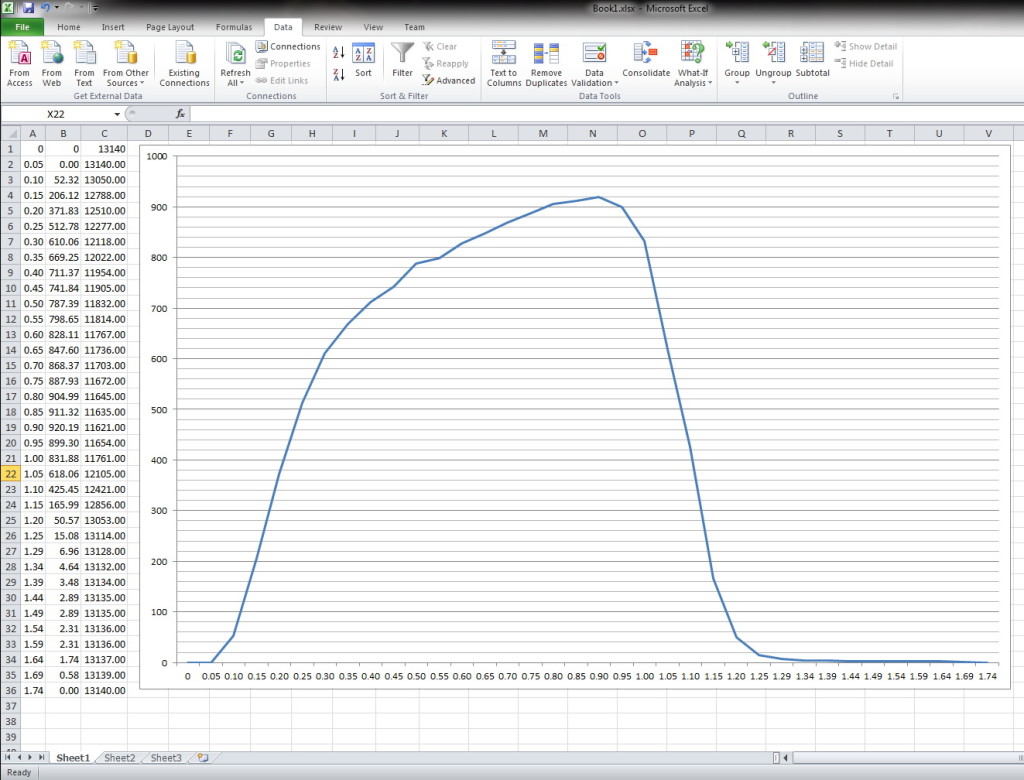
Another option is to use the altimeter as HID device. This have some advantages like universal drivers so windows won’t need to look for new drivers. However you will need software to communicate with the device. For this purpose I have written a program that will do all communication with altimeter and in the same time the program will calculate and visualize the data. In addition you can use it in a Real-time mode to monitor the barometric pressure. Complete HELP can be found inside the archive.
Also this program can be used to crunch data from other altimeters – for more information see the help file. The program can be downloaded from the bottom of the page together with the new HID firmware needed to support the program.
Some screenshots:
MCU FIRMWARE HID (hex file)
MCU FIRMWARE CDC (hex file)
PCB MANUFACTURING FILES (Gerber files)
EXROCKETS_SMALL_ALTIMETER_v_1_00 (ZIP file)
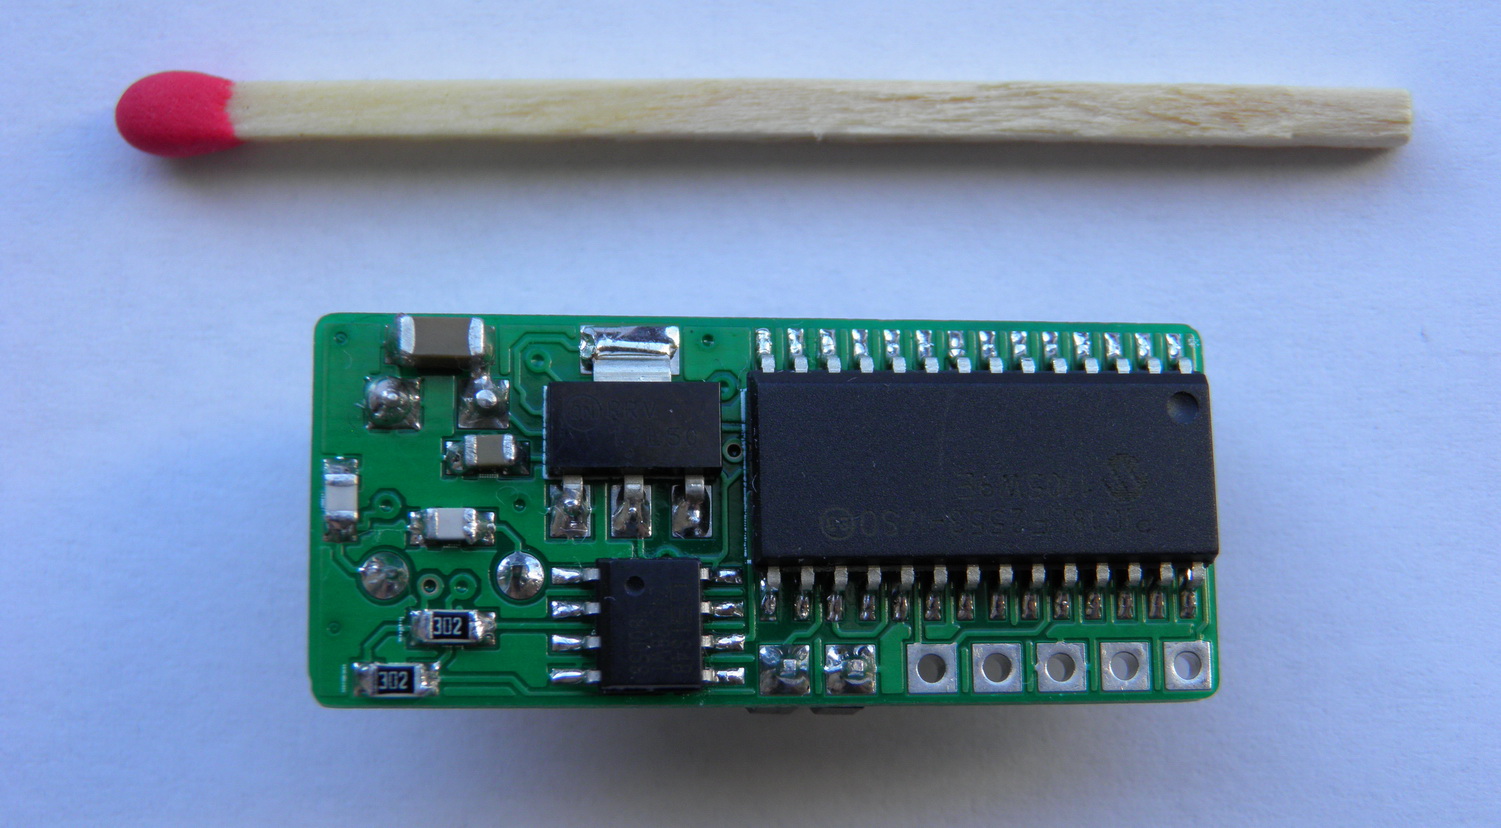
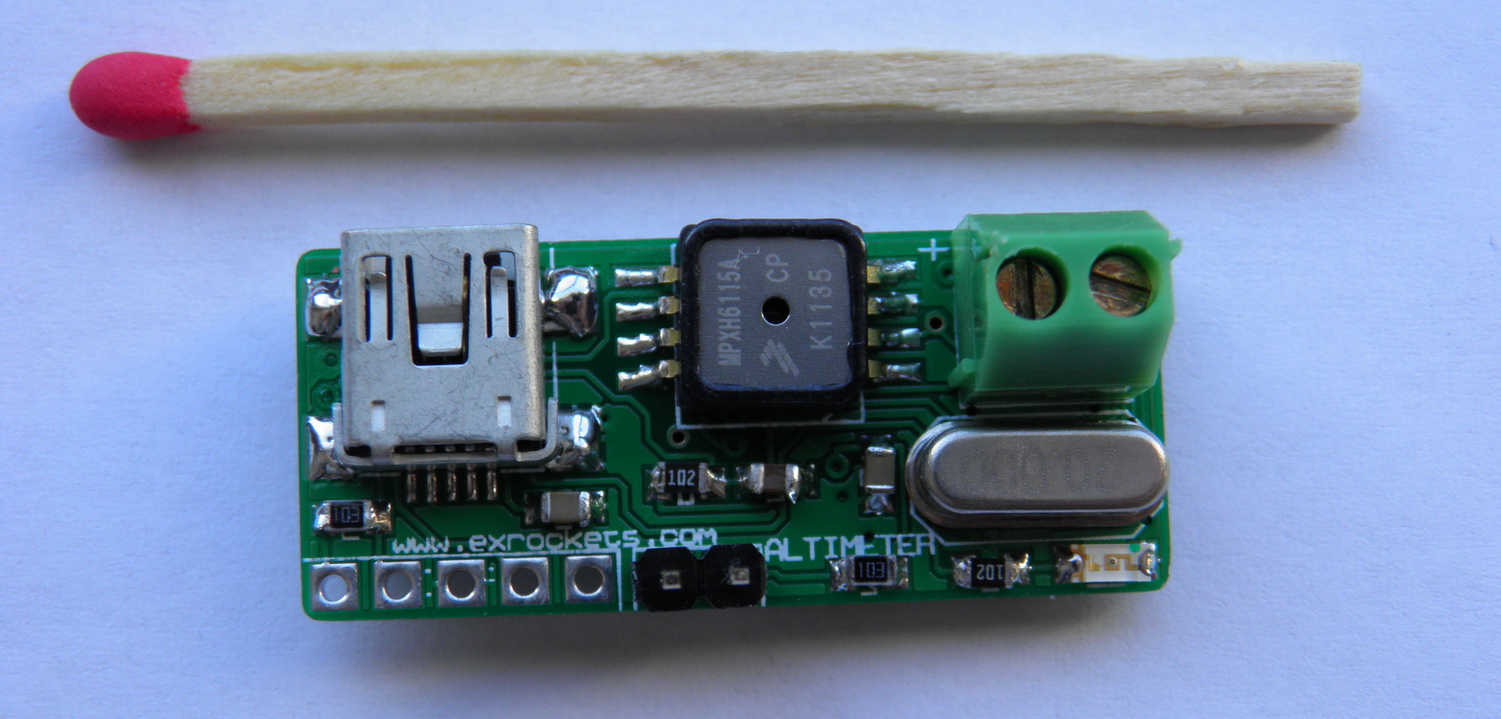
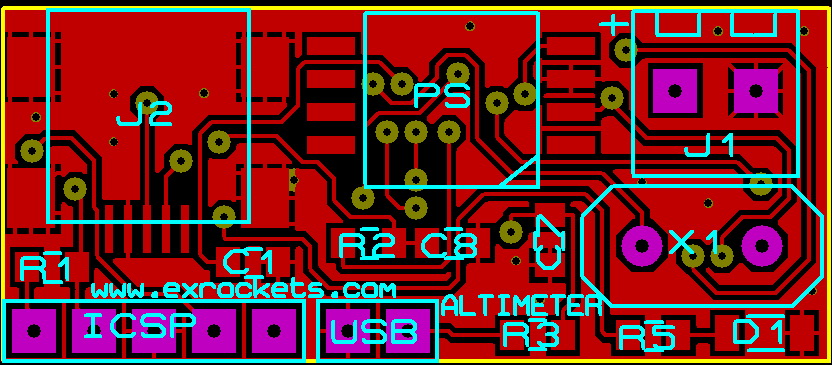
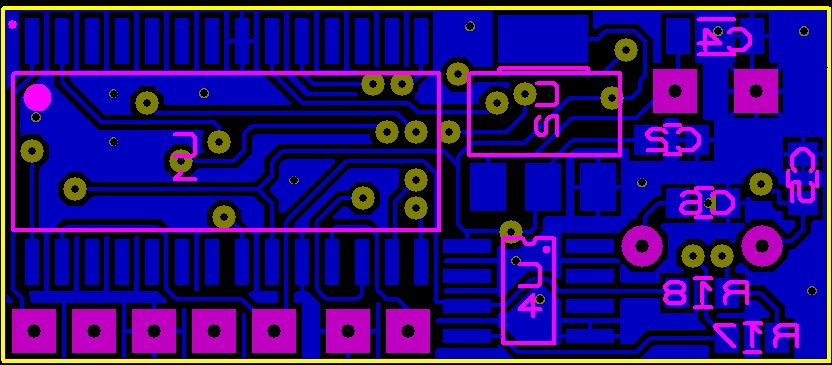

Thanks Dyanko for your hard work!!
I made your altimeter to evaluate the Cd of the parachute during descent! I made a few modifications to fit my needs, but everything works well!!
I noticed that if it doesn’t measure any variation for a few seconds it start to write zeros, it’s right? During lunch and descending everythings works perfectly!
I will let you know more in the future if you want!
Hope to see new projects! 🙂
Hello Andrea,
I am pleased to hear that the small altimeter was useful for your project.
It is normal that the altimeter stops recording after couple of seconds inactivity (no pressure change) as it assumes that the rocket landed. The zeros that you see are the formatted memory – in the firmware instead of writing the usual 1’s, I write 0’s to format the EEPROM before each start.
Best.
Hi Dyanko!
thanks for your reply! What is the pressure change needed to activate? I’m doing the descending test with a drop mass released from a drone (several tests before finding the right size and shape!) and I see that many times I need to blow over the pressure sensor to activate. Maybe too slowly change in altitude?
Hello Andrea,
your observation is correct. In order to be activated, the altimeter needs a pressure change, corresponding to at least about 20 m/sec vertical velocity.
This start condition significantly lowers the chance of accidental activation while on the launch pad, and in the same time it is easily achievable by model rockets.
The built-in FIFO buffer keeps information for few seconds before the “launch” event is detected which ensures no loss of flight information under normal (in the context of model rocketry) start conditions and flight trajectory.
Regards.
Unfortunately I’ve to blow inside the sensor to start recording, I found that the start altitude is shifted due to this blow, but no problem, I need the Delta Altitude (difference between apogee and touch down) altitude and time to precise calc the descending velocity.
I will with a rocket too soon 😀
Pingback: Mini Digital Barometric Altimeter • Tech Projects